How to Use Feature Flags in React
This post will walk you through setting up Prefab feature flags in your React app, and creating a flag for a gradual rollout of a new feature.
Creating a feature flag in the Prefab dashboard
If you don't have one already, start by creating a free Prefab account. Once you sign in, this is what you'll see
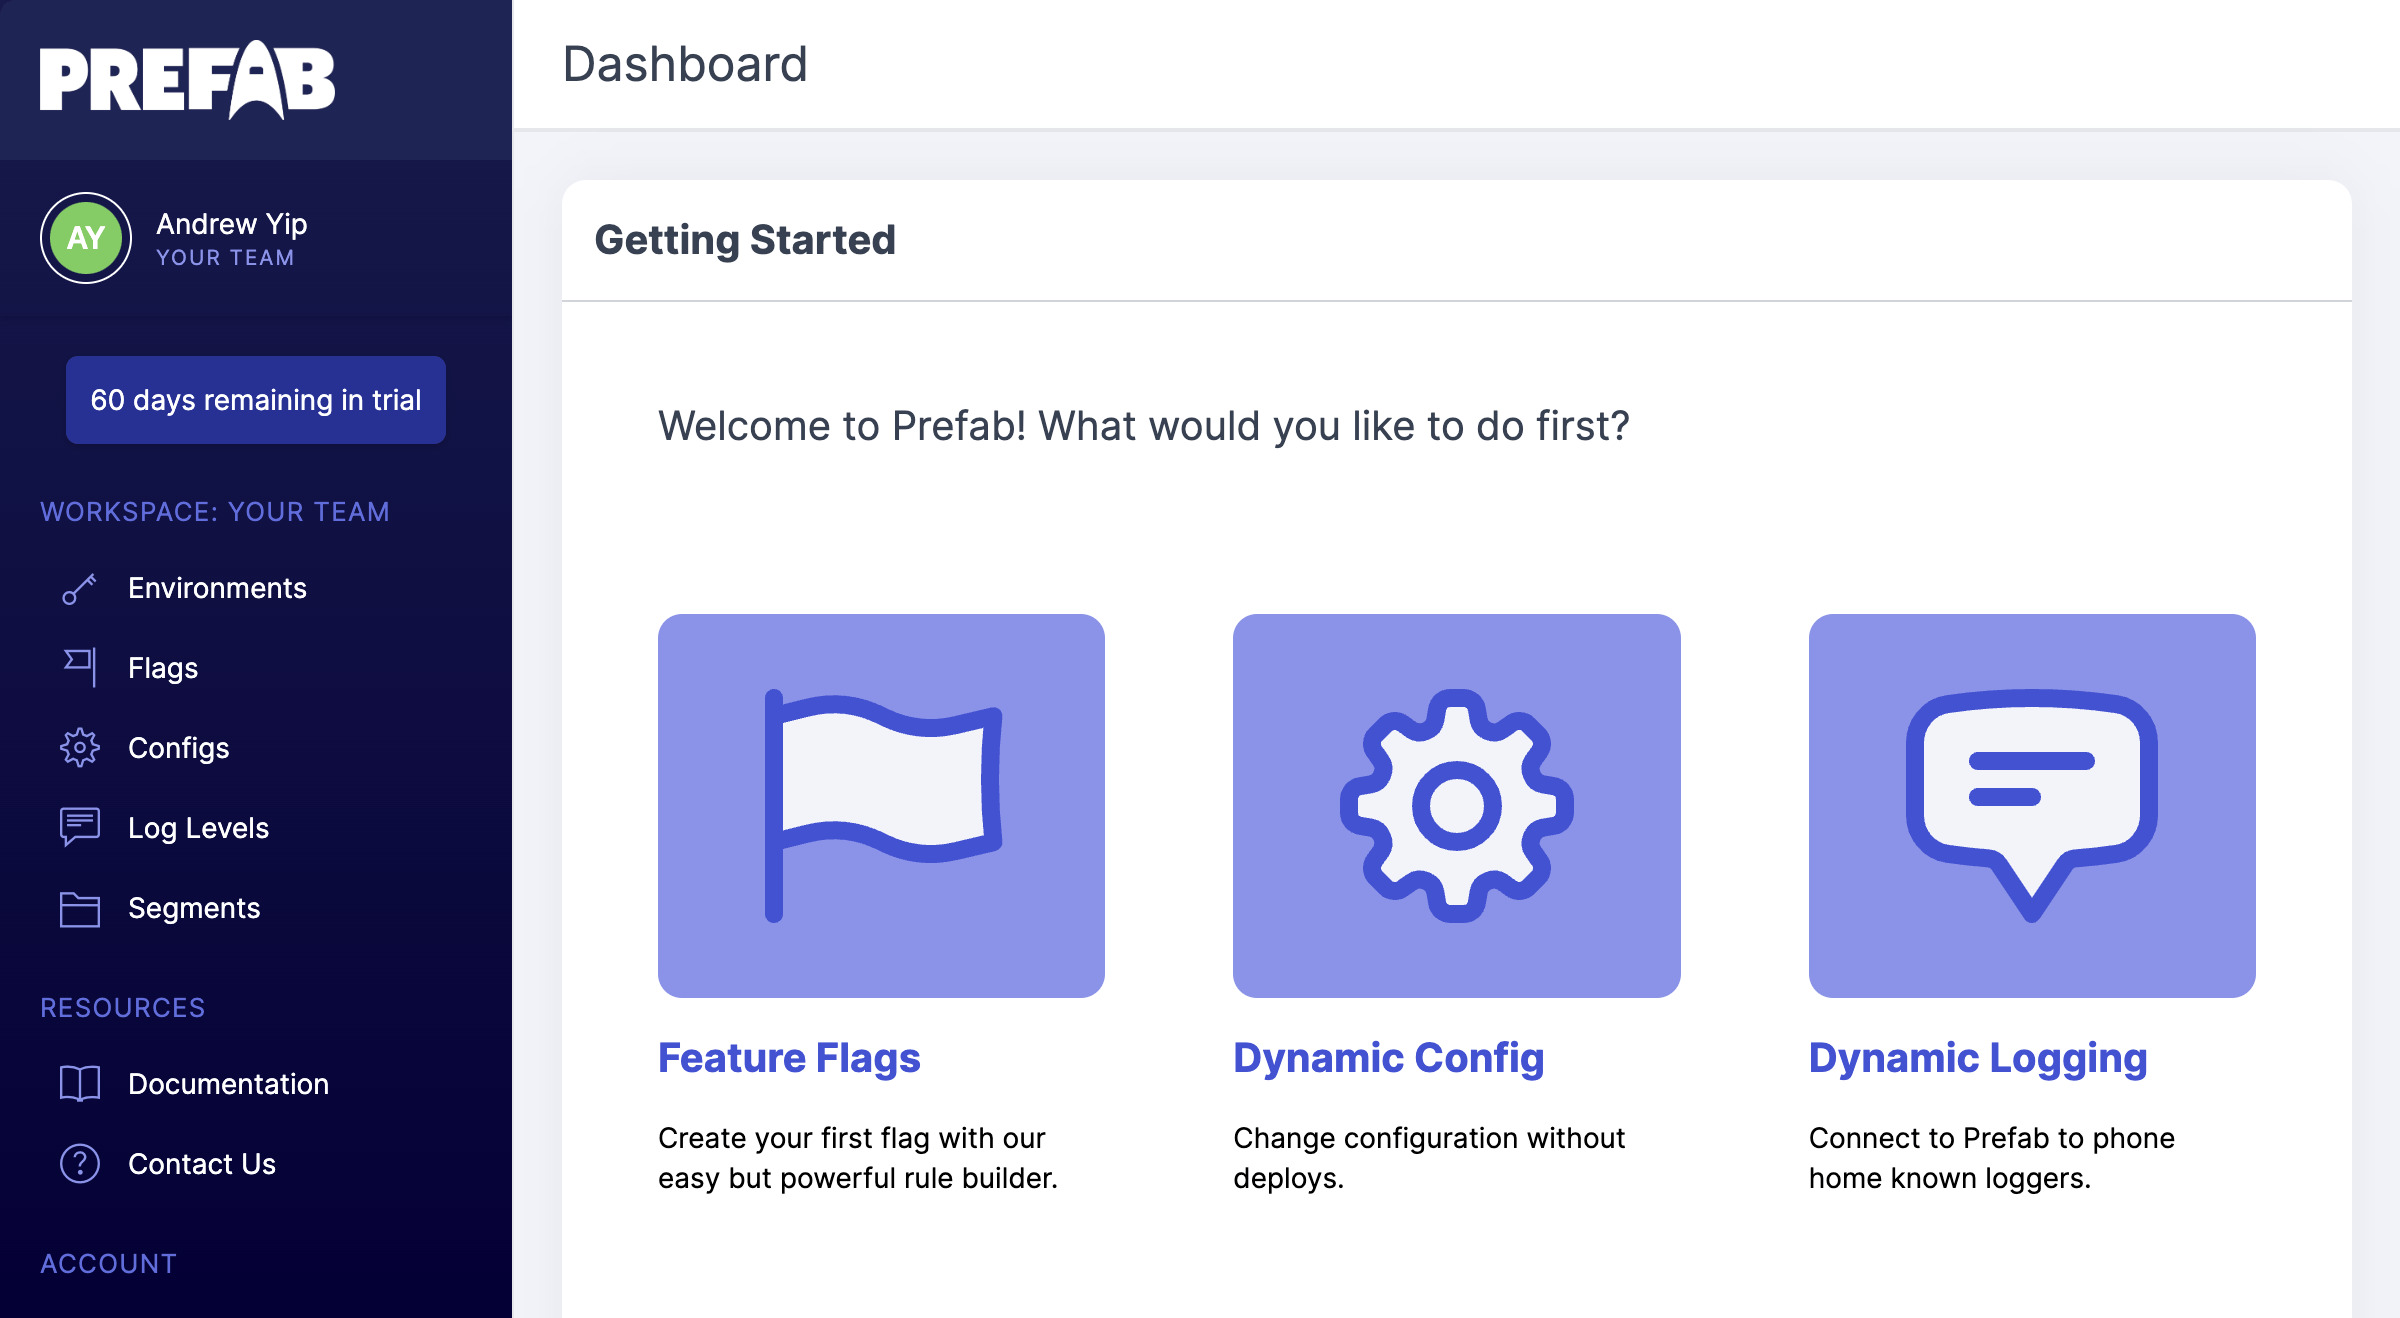
To create your first feature flag, click on Flags in the left nav and you'll be brought to the Flags index page.
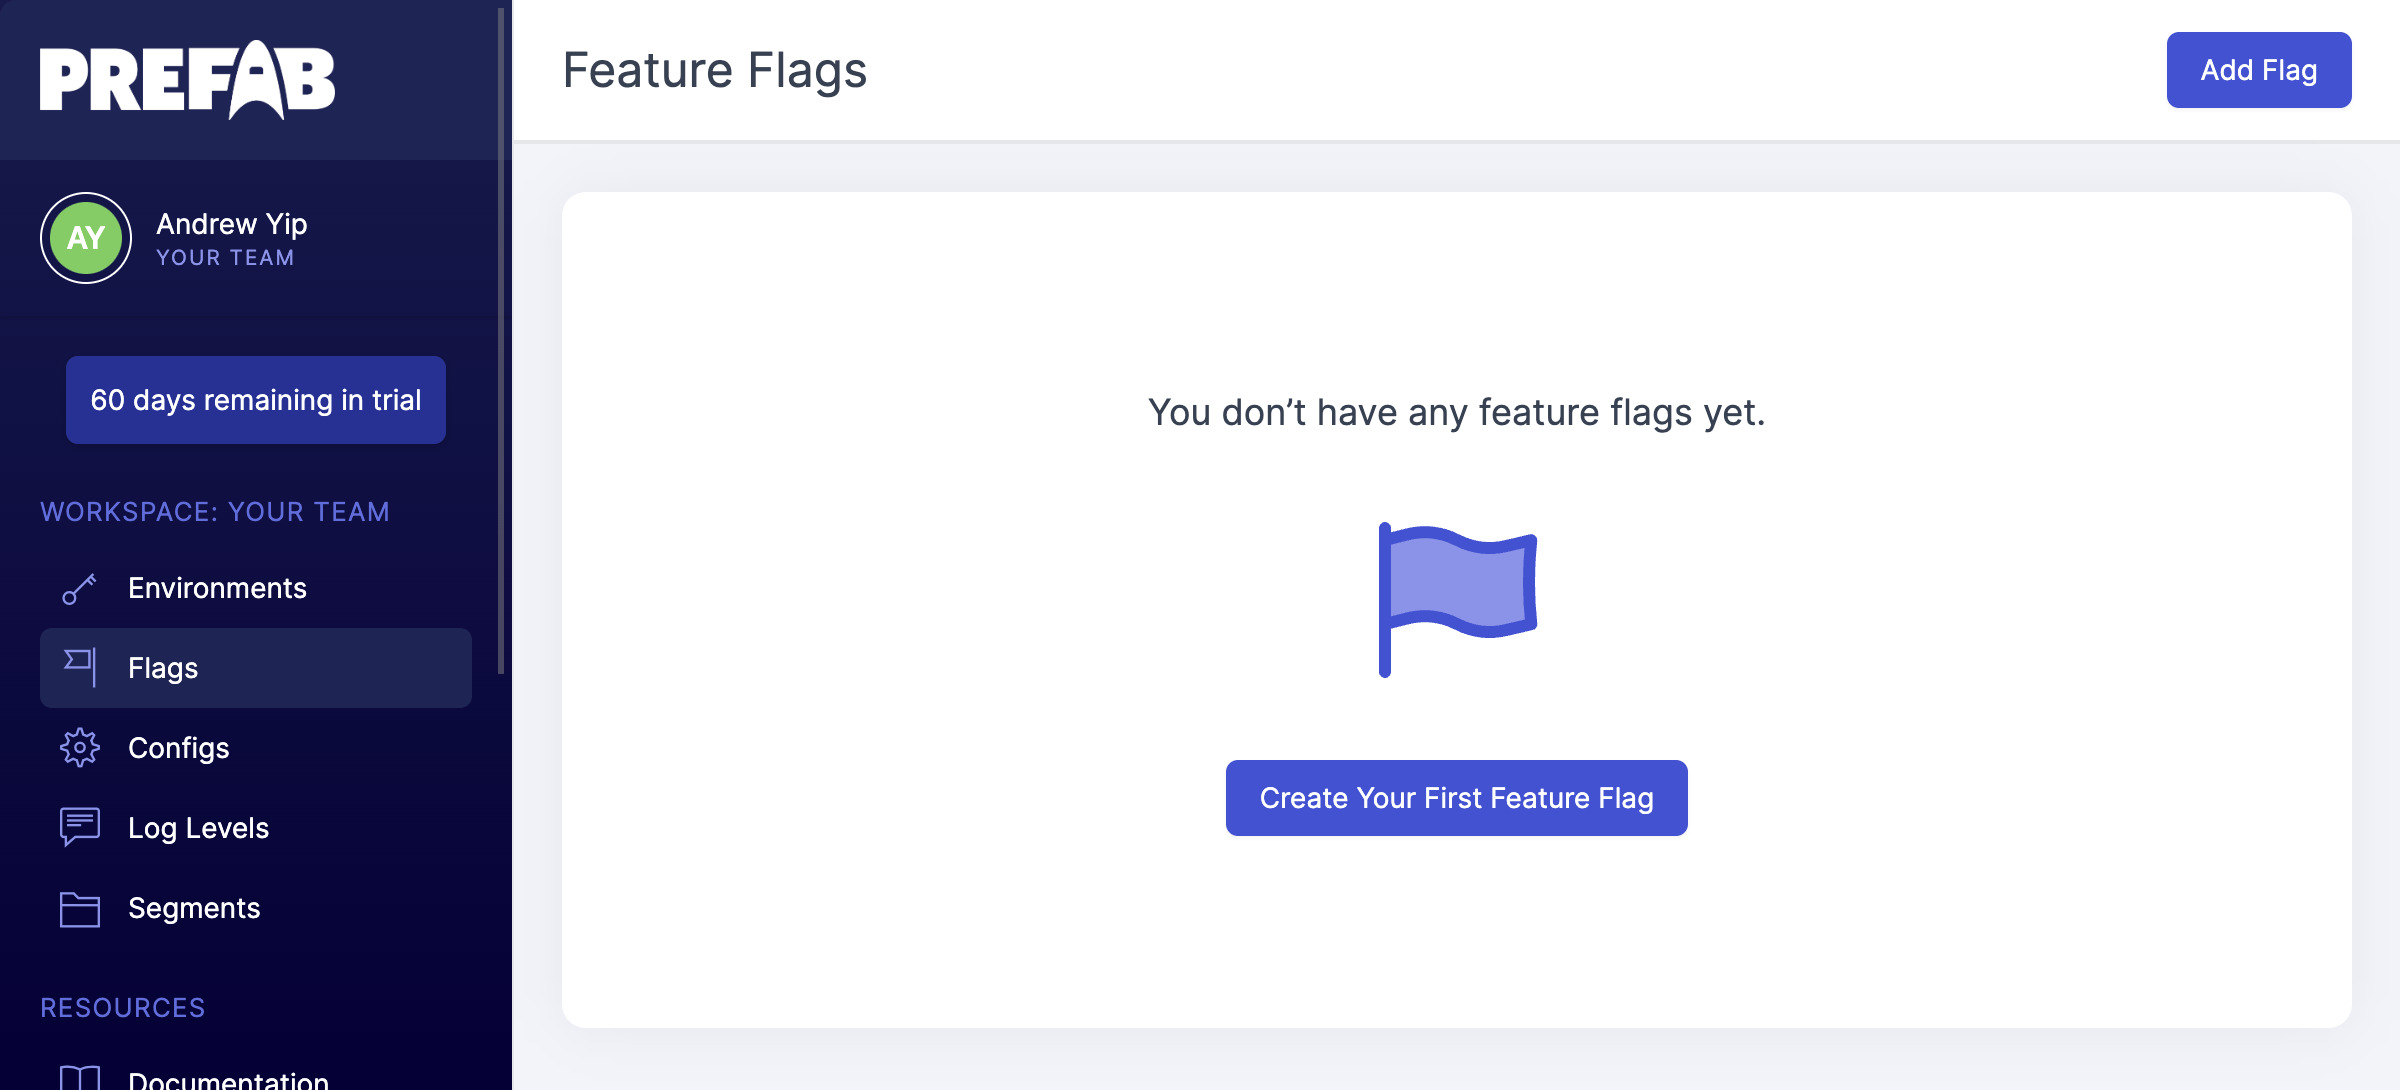
Click Add Flag to create your first flag. We'll name it flag.my-new-feature and leave the type as bool, then click Save.
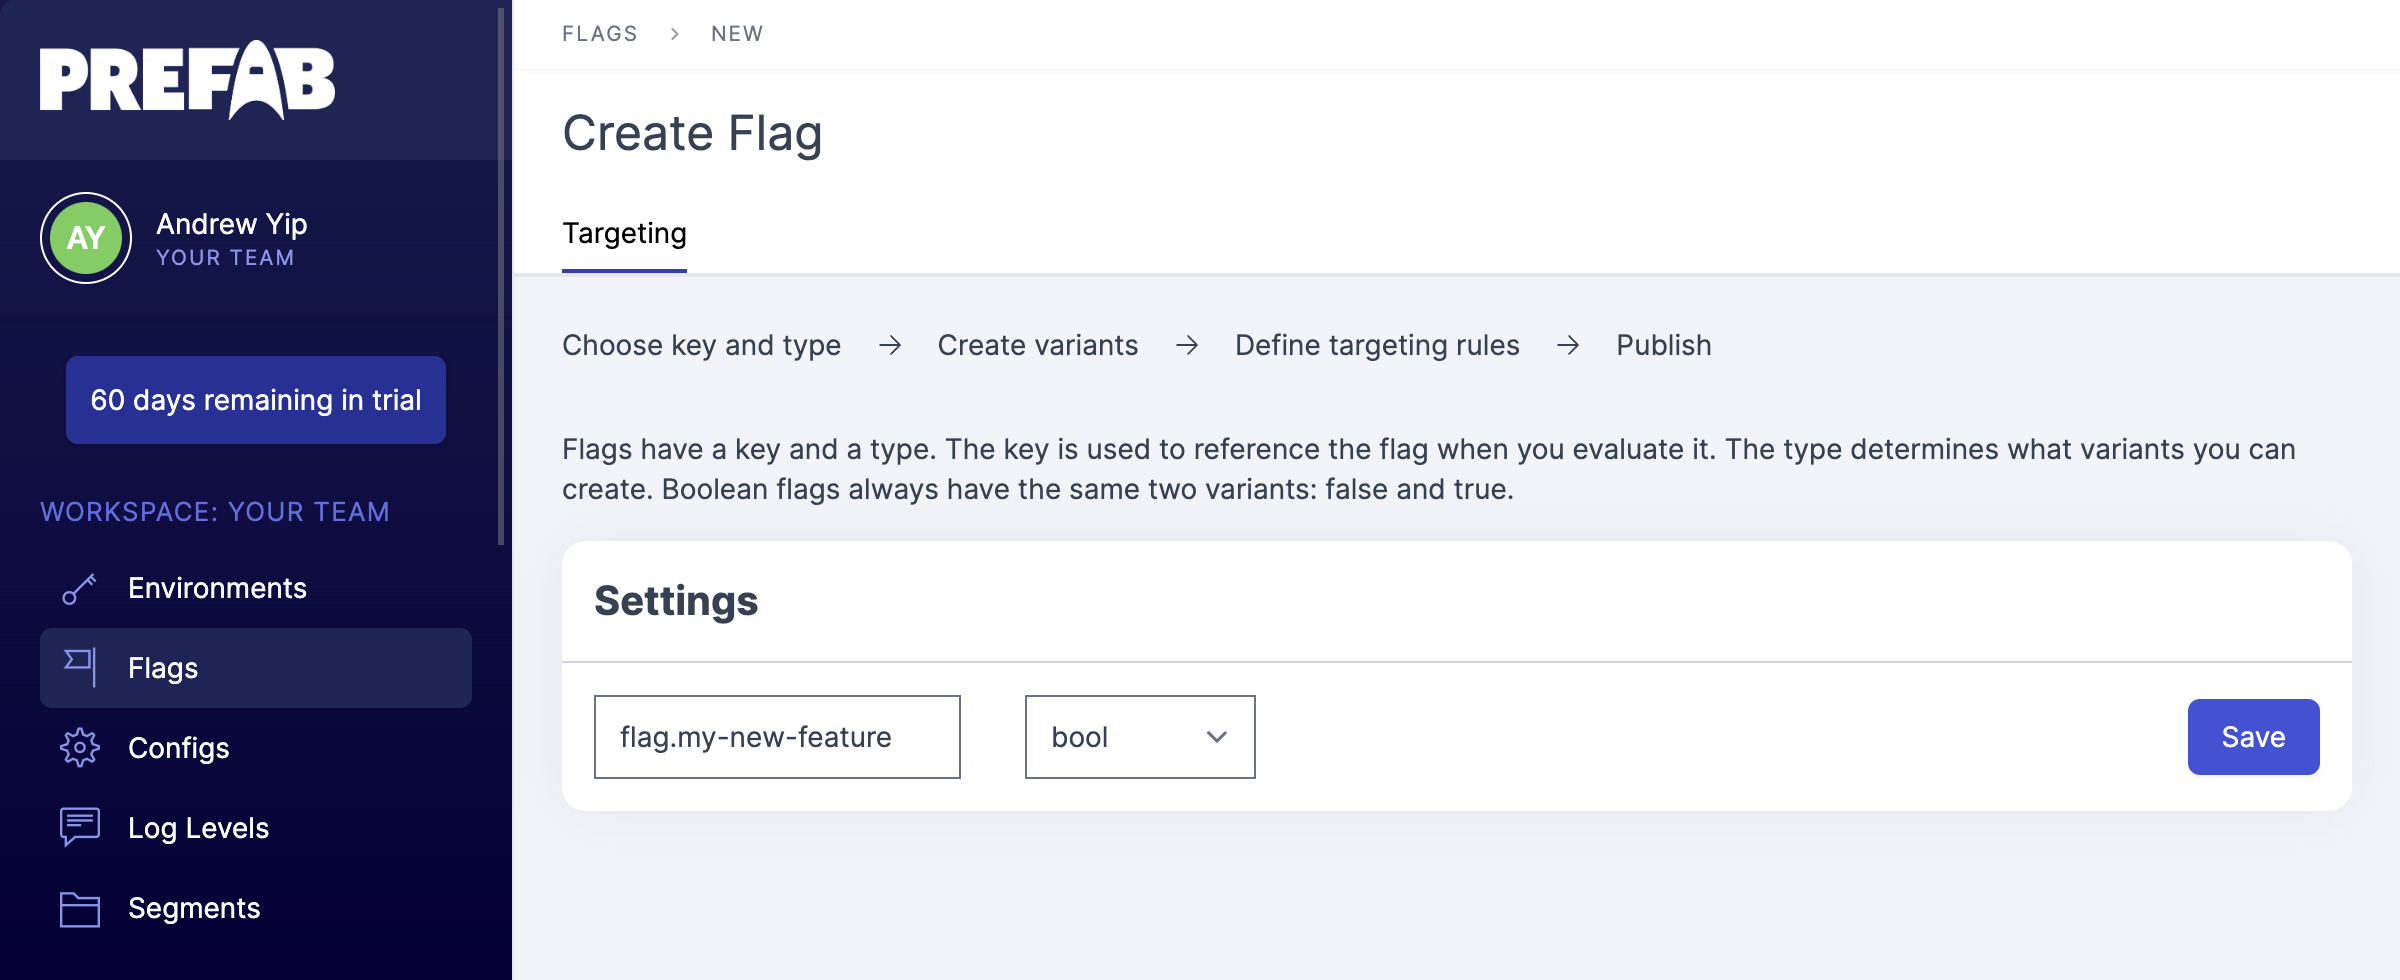
Once you Save the flag name, you'll see the flag Variants and flag Rules. Since this is a boolean flag, the variants aren't editable, but for other flag types such as string you can name as many variants as you want.
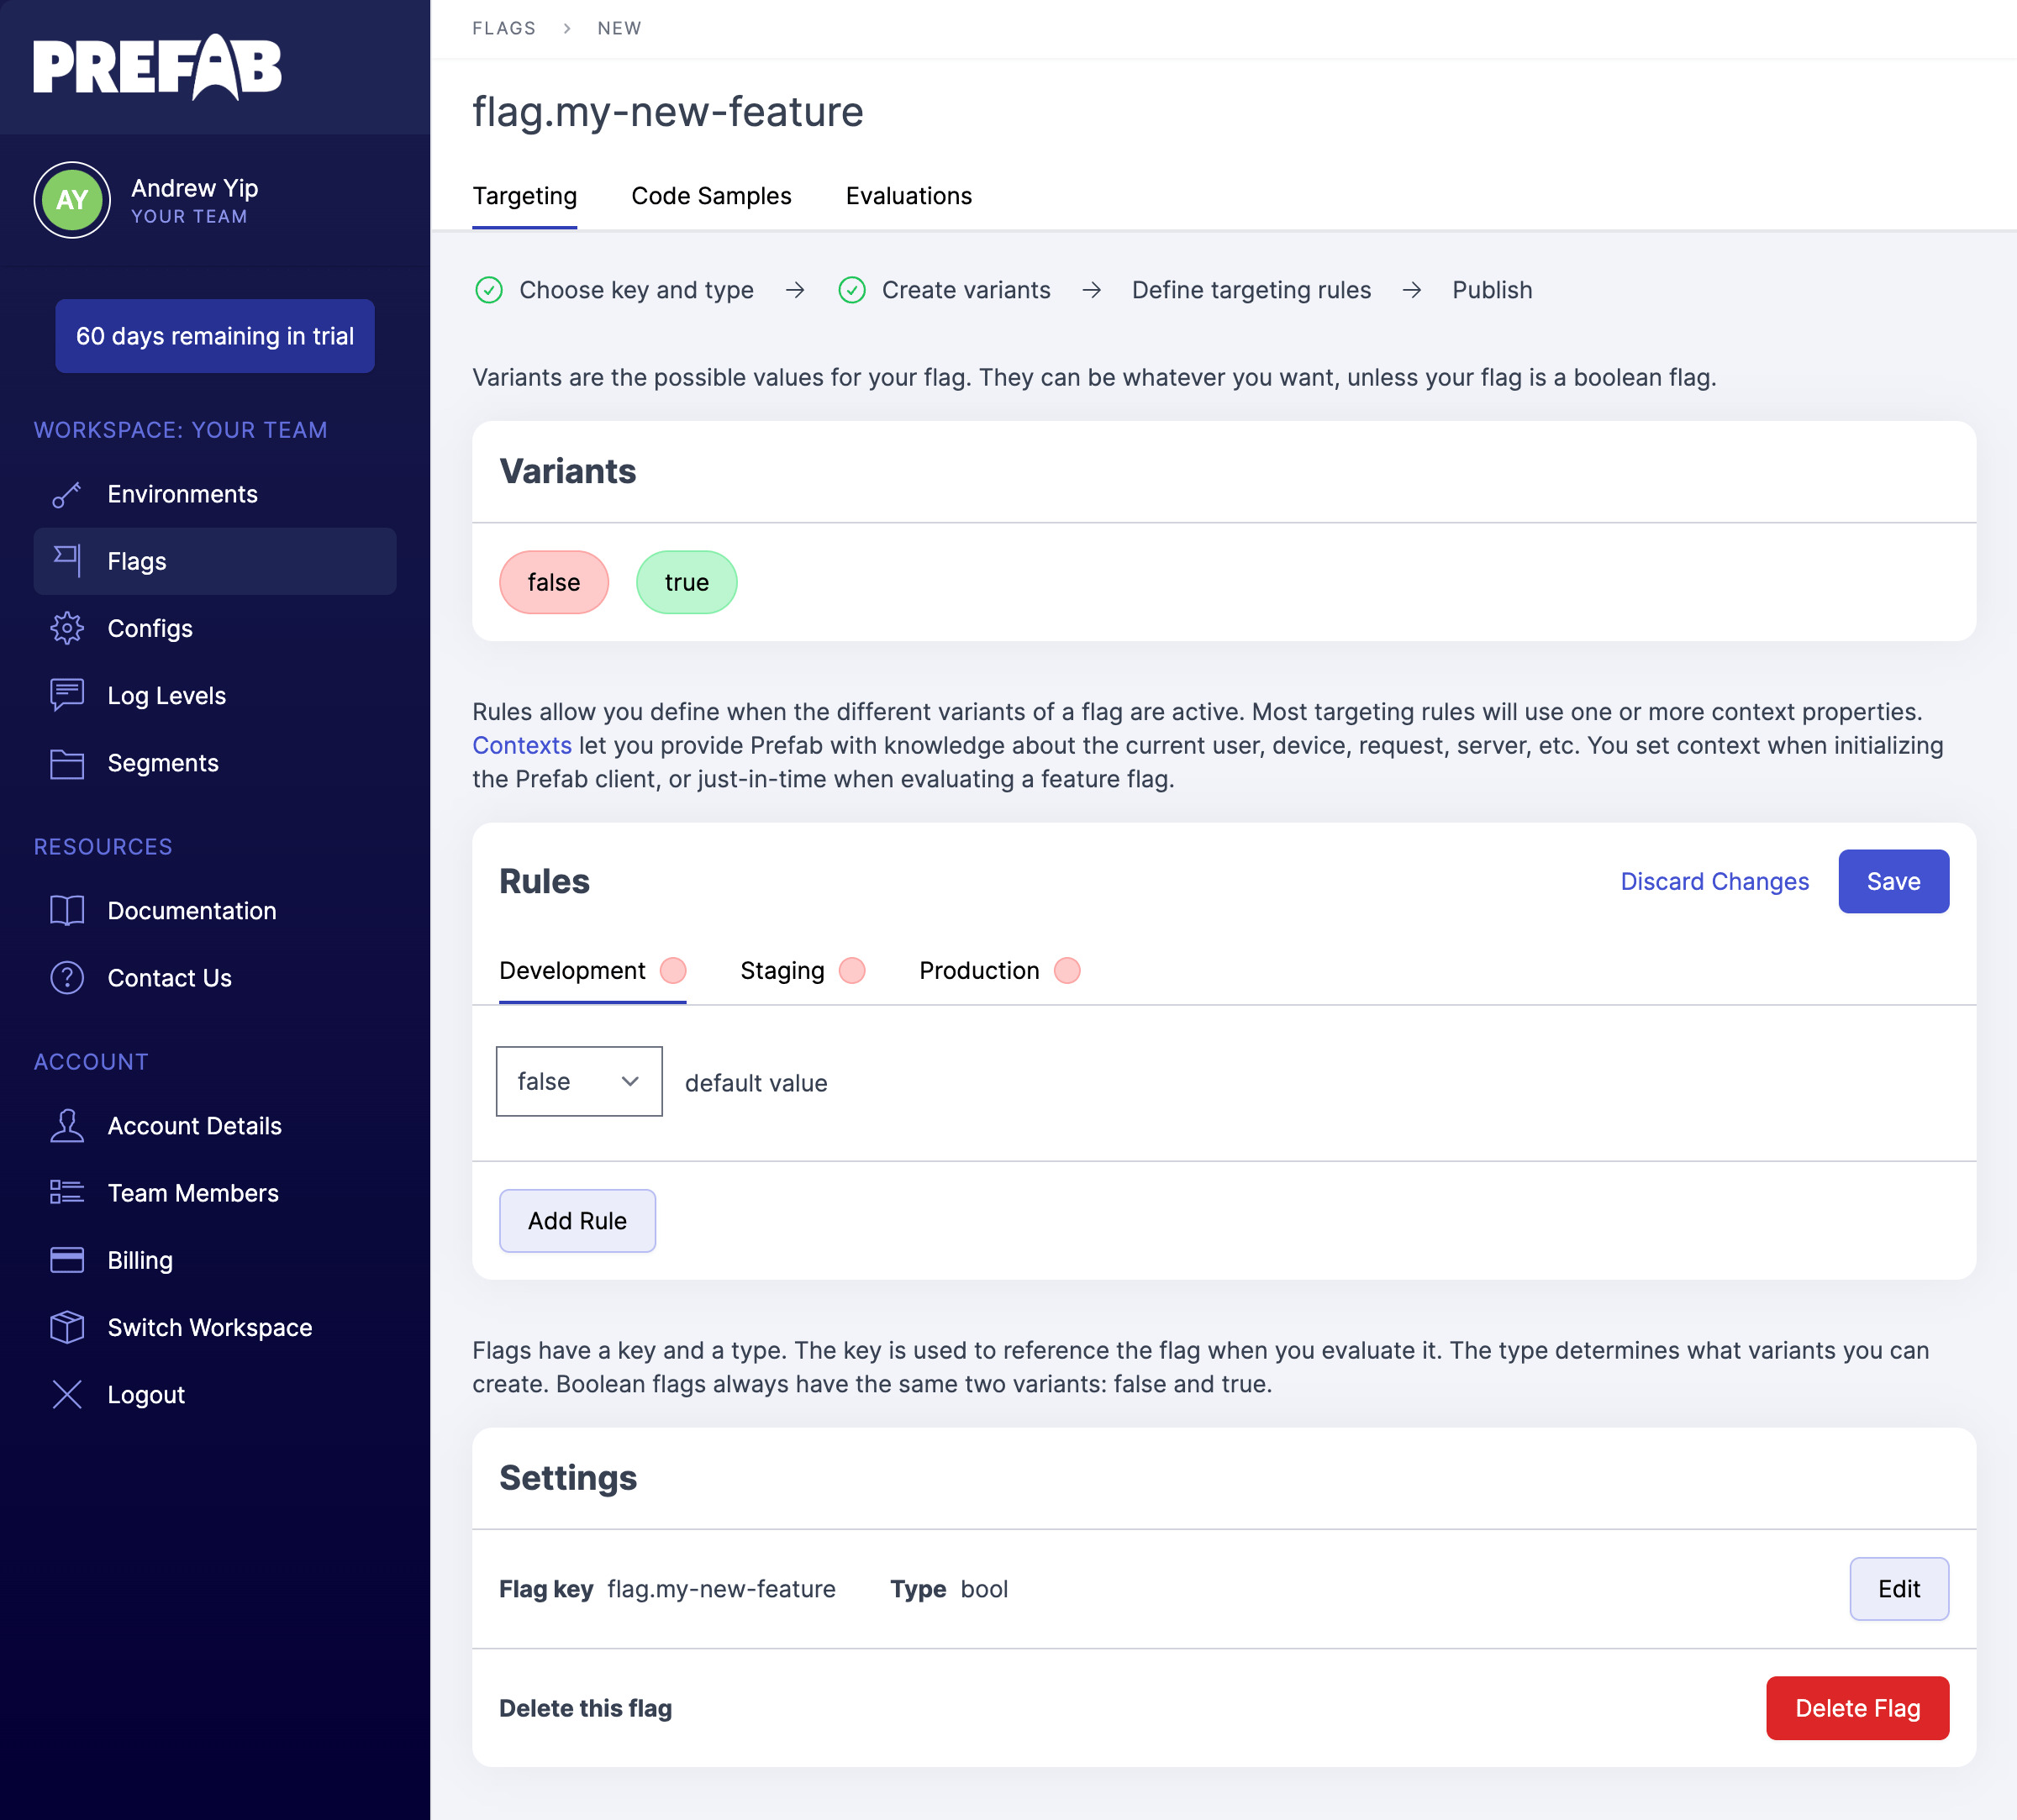
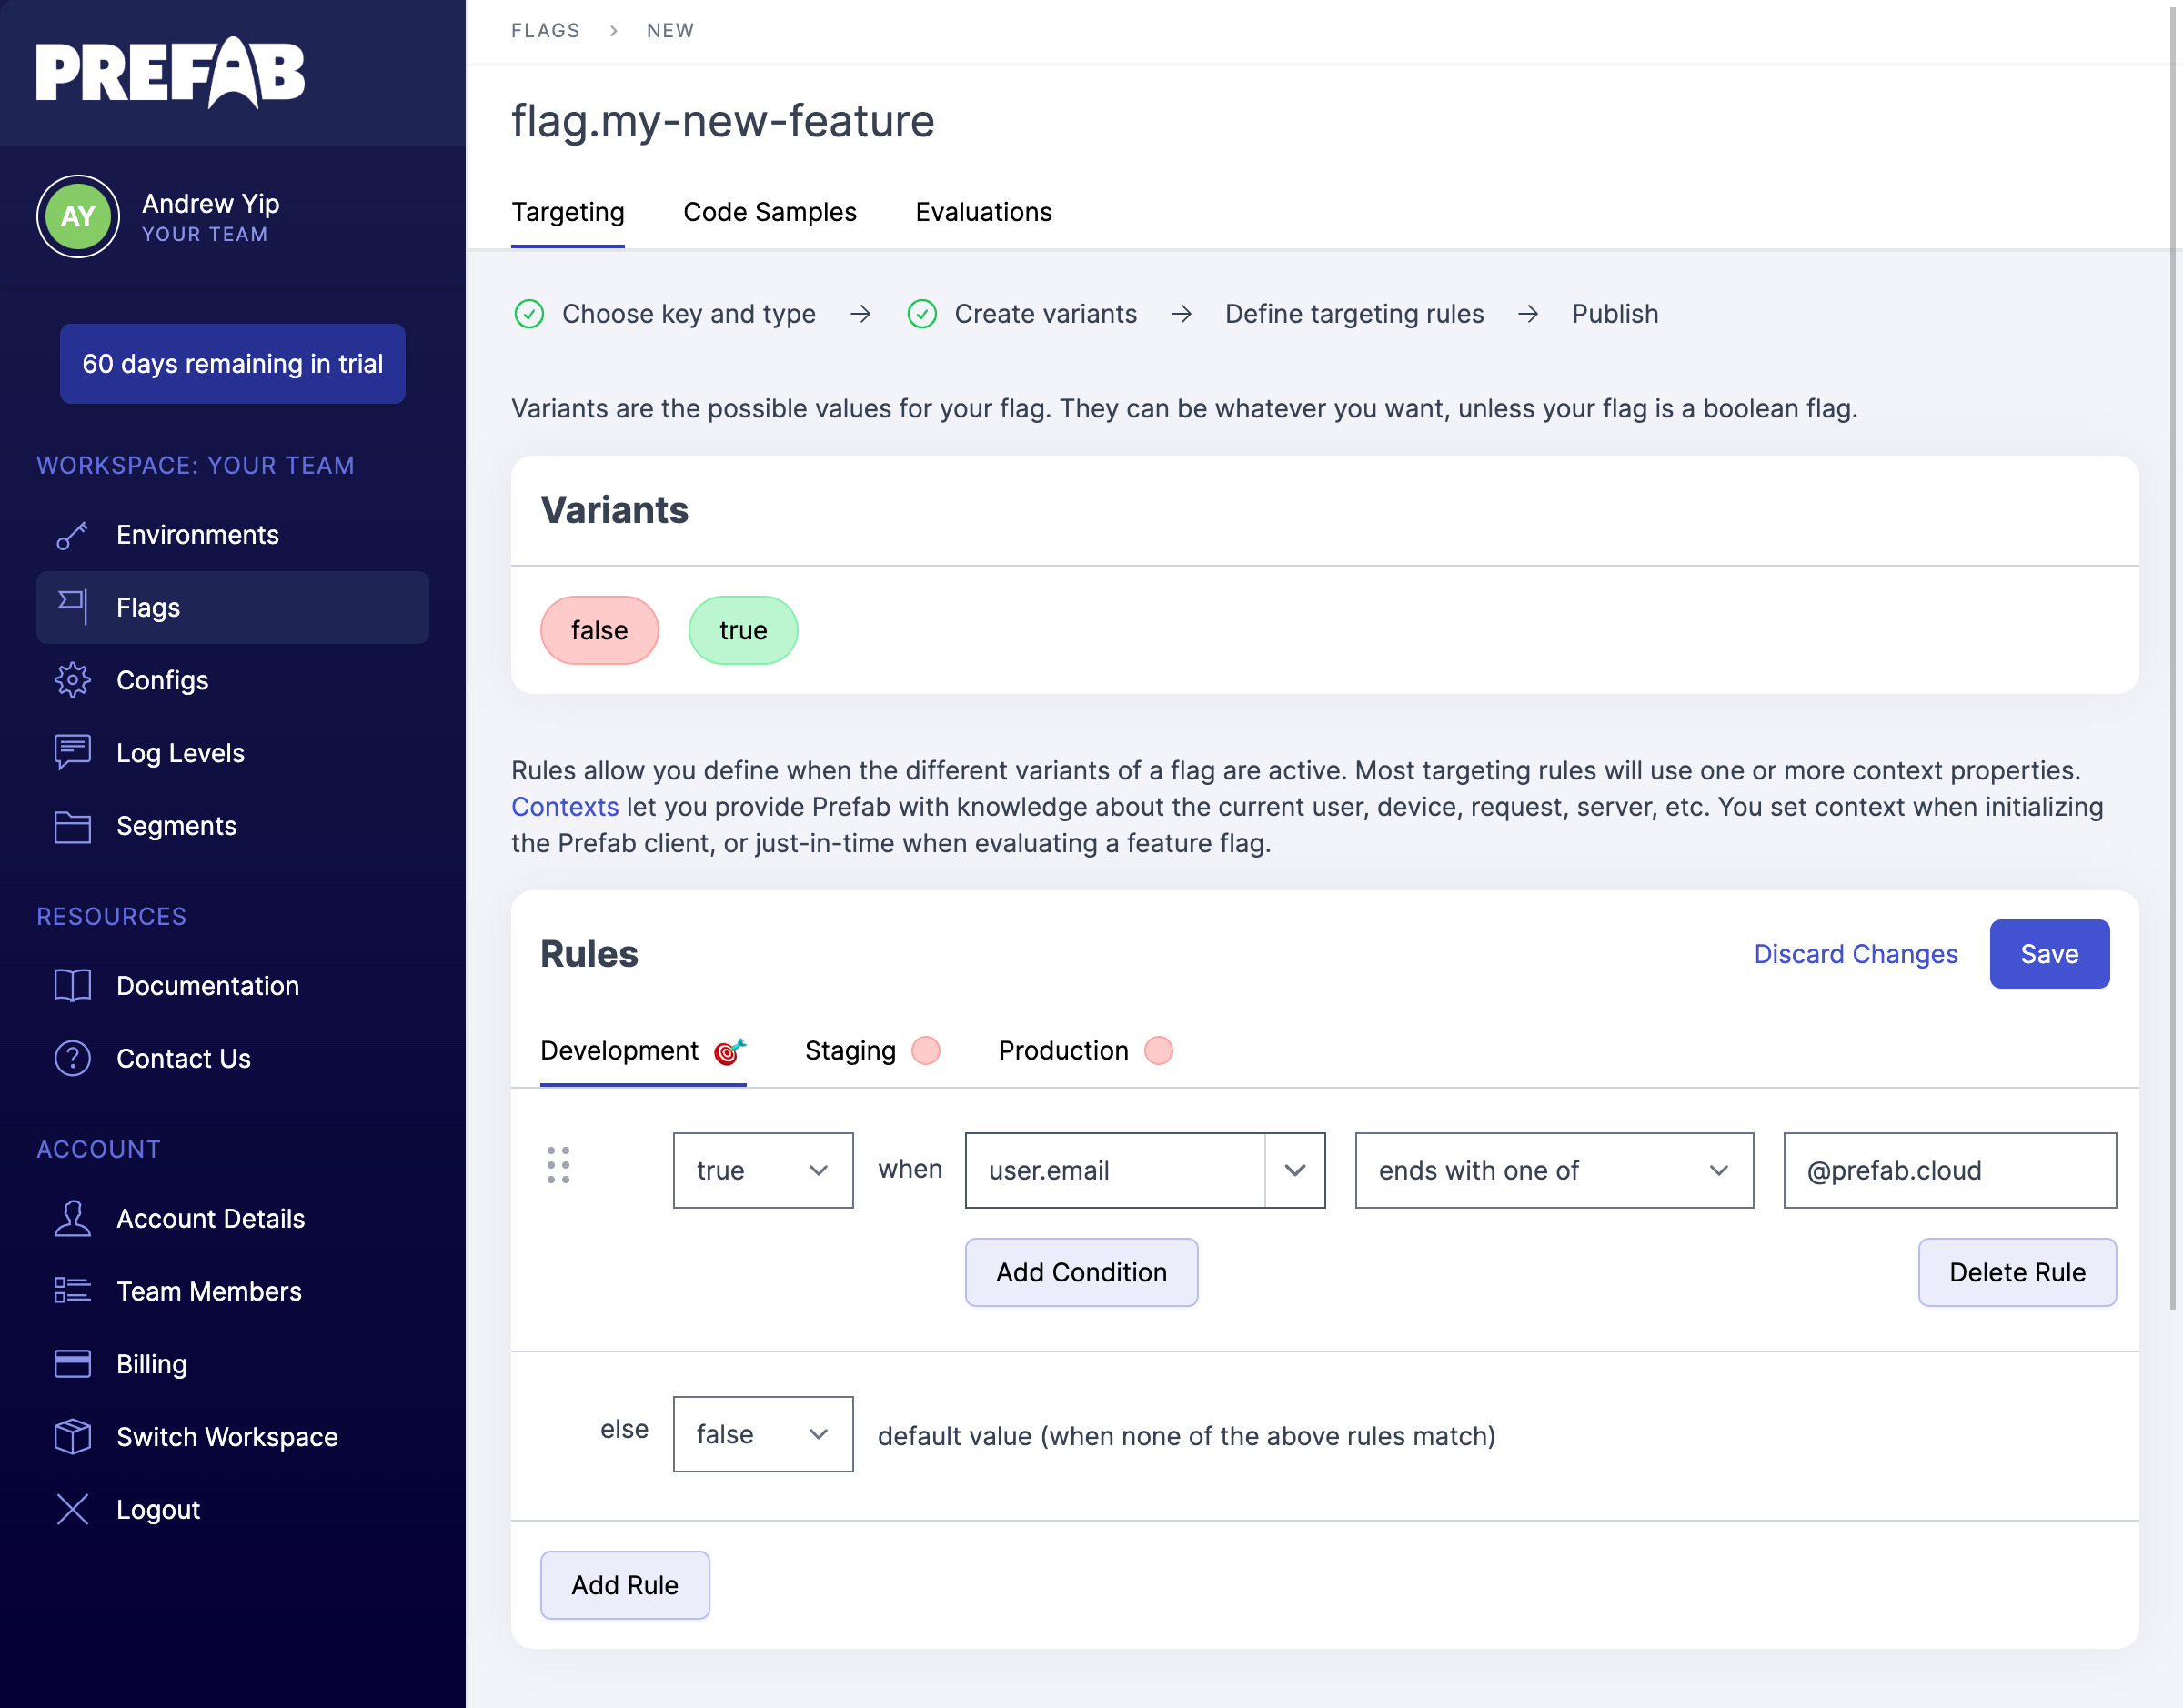
Now let's add a rule under the Development environment:
- Click Add Rule
- Change the variant of the new rule to
true - Enter
user.emailin the property field - Change the logic operator to
ends with one of - Enter
@prefab.cloudin the values field - Click Save to save your new rule
Prefab creates the Development, Staging, and Production environments automatically, but you can edit, add, or delete environments to meet your needs.
There's one more step. You'll need to click Publish Changes to make your new rule live.
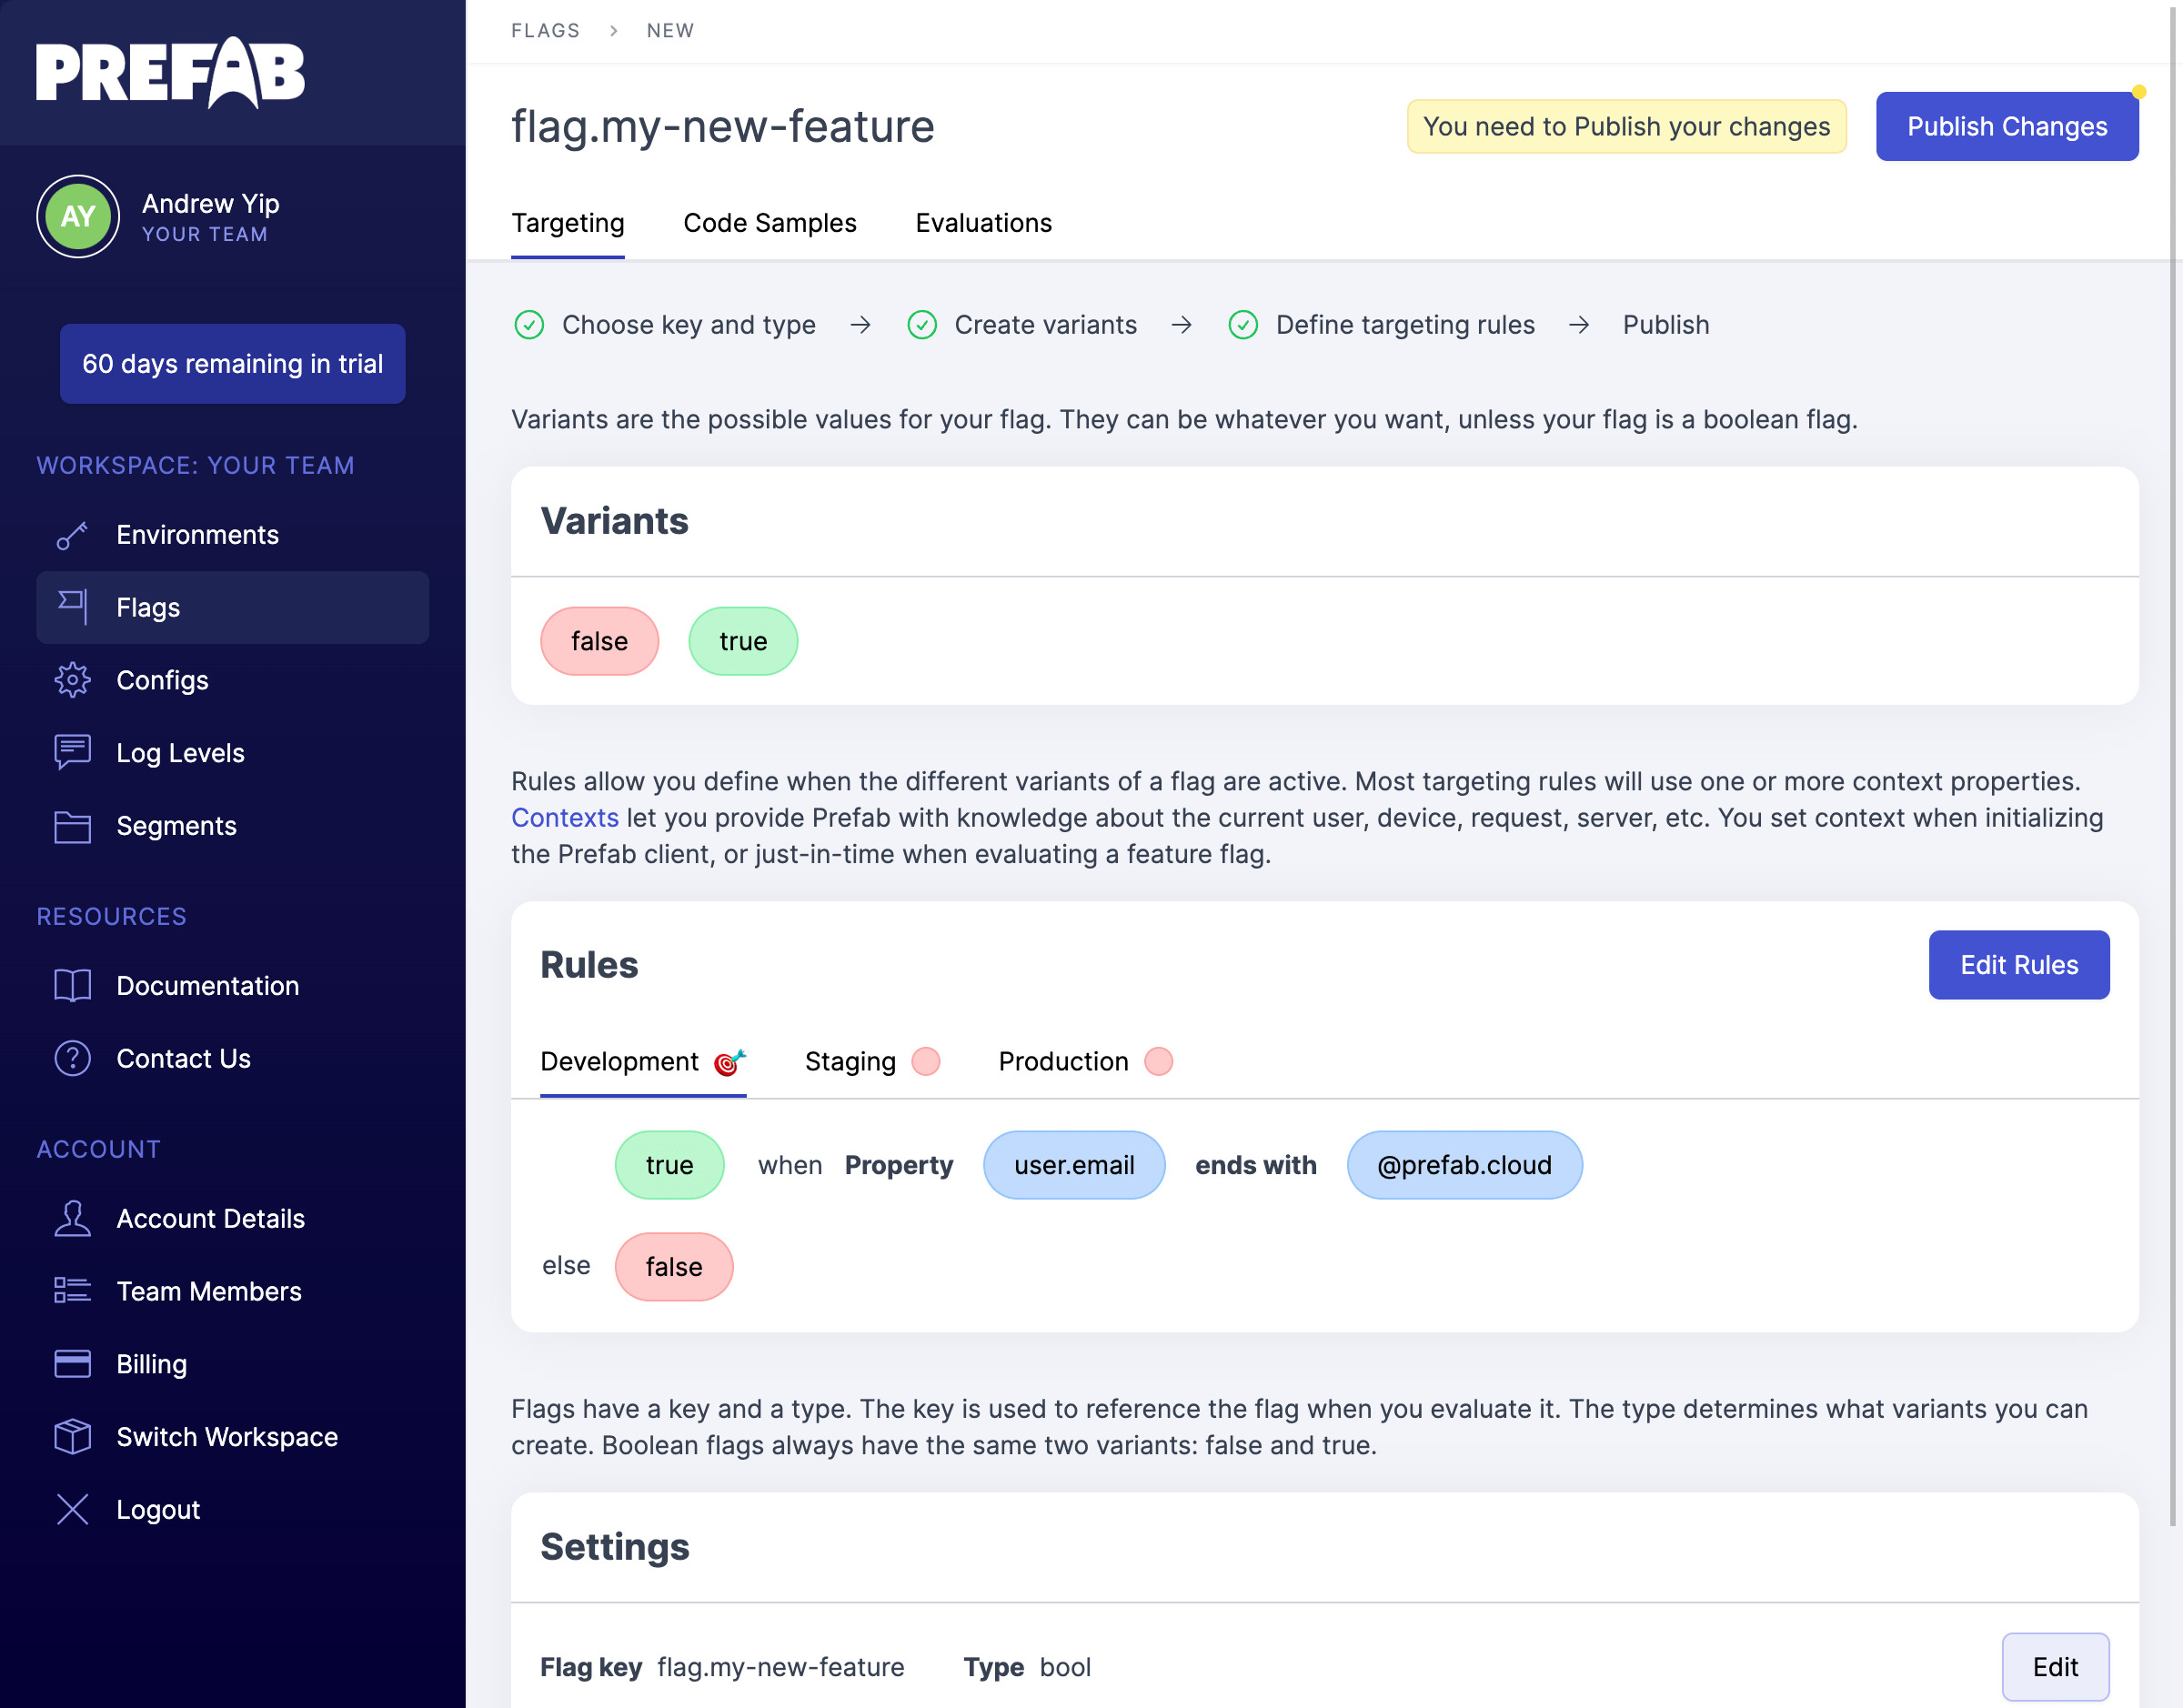
That's it! Your new flag is ready to use, but there's one more step before we can write some coe.
Creating an API key
You need to create an API key before you can access Prefab from your code. Click on Environments in the left nav. API Keys belong to environments.
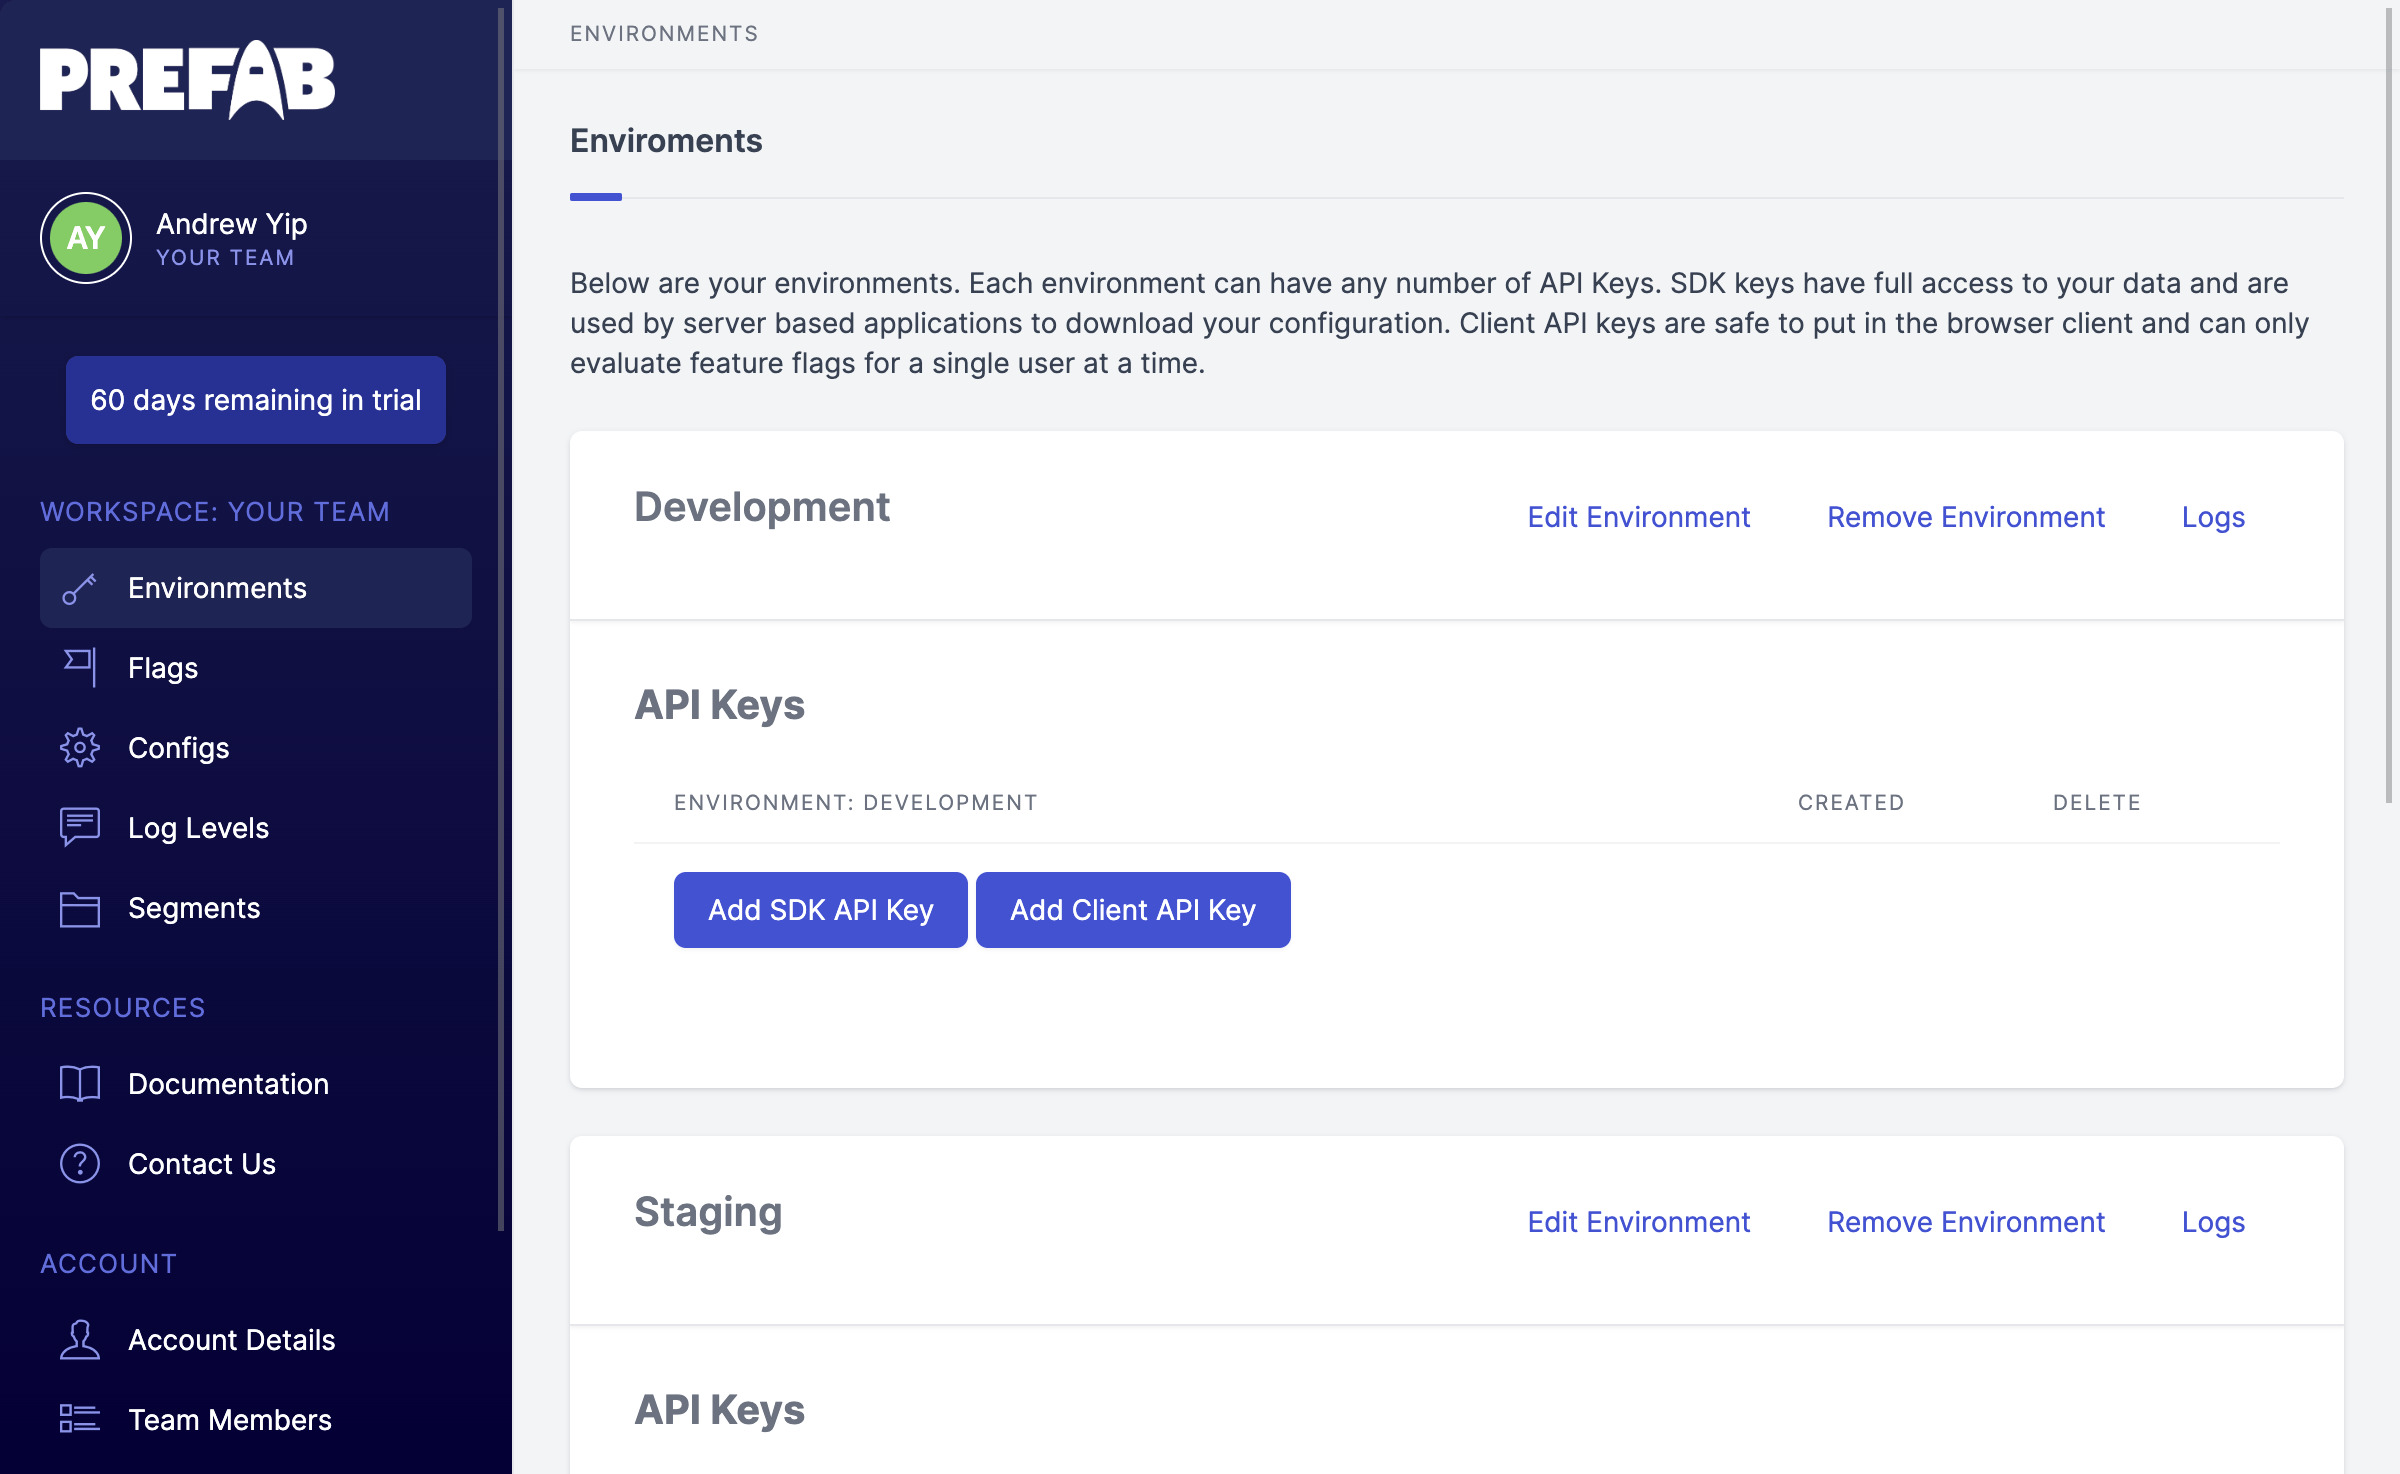
Since we're using React, you'll want to create a Client key. You can learn more about client vs. server keys in our docs. Click Add Client API Key under the Development environment and make sure you write down the key. It will only be displayed once.
Setting up Prefab in your React app
Install the latest version
Use your favorite package manager to install @prefab-cloud/prefab-cloud-react npm | github
- npm
- yarn
npm install @prefab-cloud/prefab-cloud-react
yarn add @prefab-cloud/prefab-cloud-react
Initialize the client
Wrap your component tree in the PrefabProvider, e.g. This will enable you to use our hooks when you want to evaluate a feature flag.
import { PrefabProvider } from "@prefab-cloud/prefab-cloud-react";

const WrappedApp = () => {
  const onError = (reason) => {
    console.error(reason);
  };

  return (
    <PrefabProvider apiKey={"YOUR_CLIENT_API_KEY"} onError={onError}>
      <MyApp />
    </PrefabProvider>
  );
};
Using hooks to evaluate flags
Now use the usePrefab hook to fetch flags. isEnabled is a convenience method for boolean flags.
const NewFeatureButton = () => {
  const { isEnabled } = usePrefab();

  if (isEnabled("flag.my-new-feature")) {
    return <button>Do the thing!</button>;
  }

  return null;
};
Prefab gives you a single source of truth for feature flags, so your backend and frontend code are always in sync about which variant to assign.
See the result
If we render the NewFeatureButton component, we see nothing. Uh oh, is our flag working? Well if you remember the rules we setup, the default value of the flag is false. It will only be true if the user's email ends with @prefab.cloud, but so far we haven't told Prefab anything about the email address. This is where Context comes in.
Add context to match the Prefab rule
Context is a powerful mechanism that lets you supply metadata about users, teams, devices, or any other entity that's important. You can then use this data for rule targeting. Let's add some context. Usually you'll want to define context once when you setup PrefabProvider.
import { PrefabProvider } from "@prefab-cloud/prefab-cloud-react";

const WrappedApp = () => {
  const contextAttributes = {
    user: { email: "me@prefab.cloud" },
  };

  const onError = (reason) => {
    console.error(reason);
  };

  return (
    <PrefabProvider
      apiKey={"YOUR_CLIENT_API_KEY"}
      contextAttributes={contextAttributes}
      onError={onError}
    >
      <App />
    </PrefabProvider>
  );
};
Now try rendering NewFeatureButton again. You should see our button!
Making a rollout for Production
Let's try one more thing. Suppose you want to gradually release this feature to your users. Prefab supports rollouts that will allocate users in a percentage split (also great for A/B testing!).
Go back to our feature flag in the Prefab dashboared, and click Edit Rules.
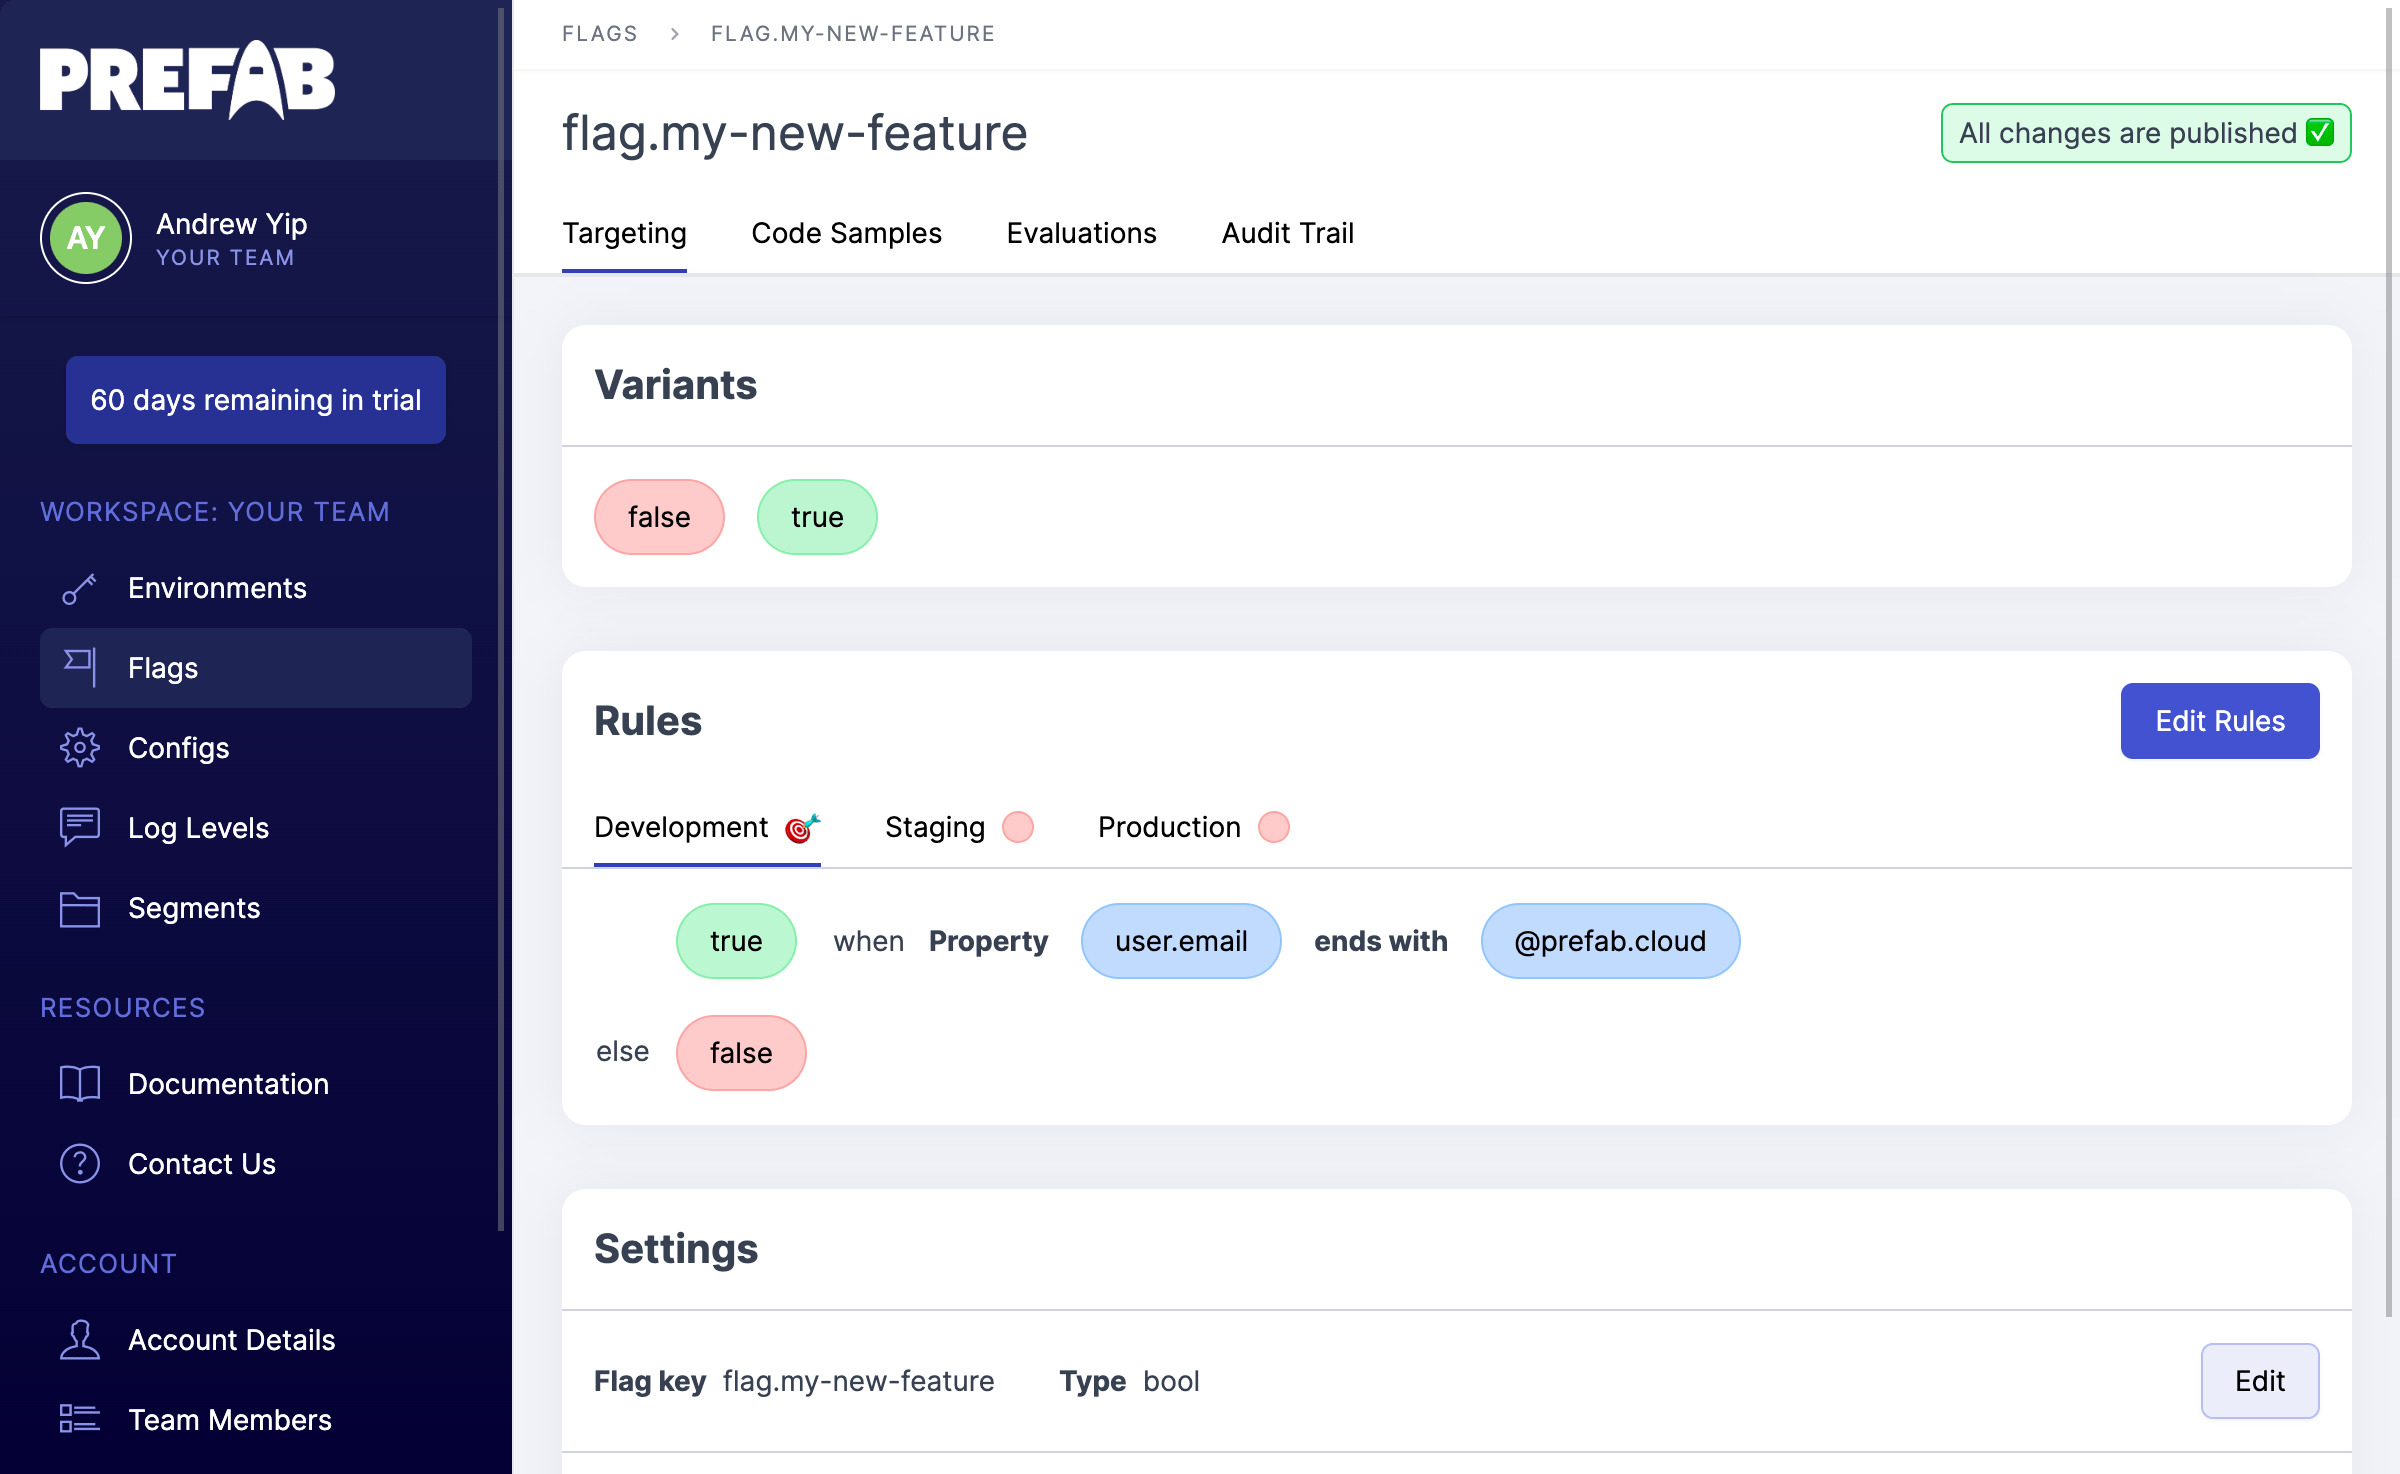
Click on the Production tab, then click on the current variant (false) and change it to Rollout.
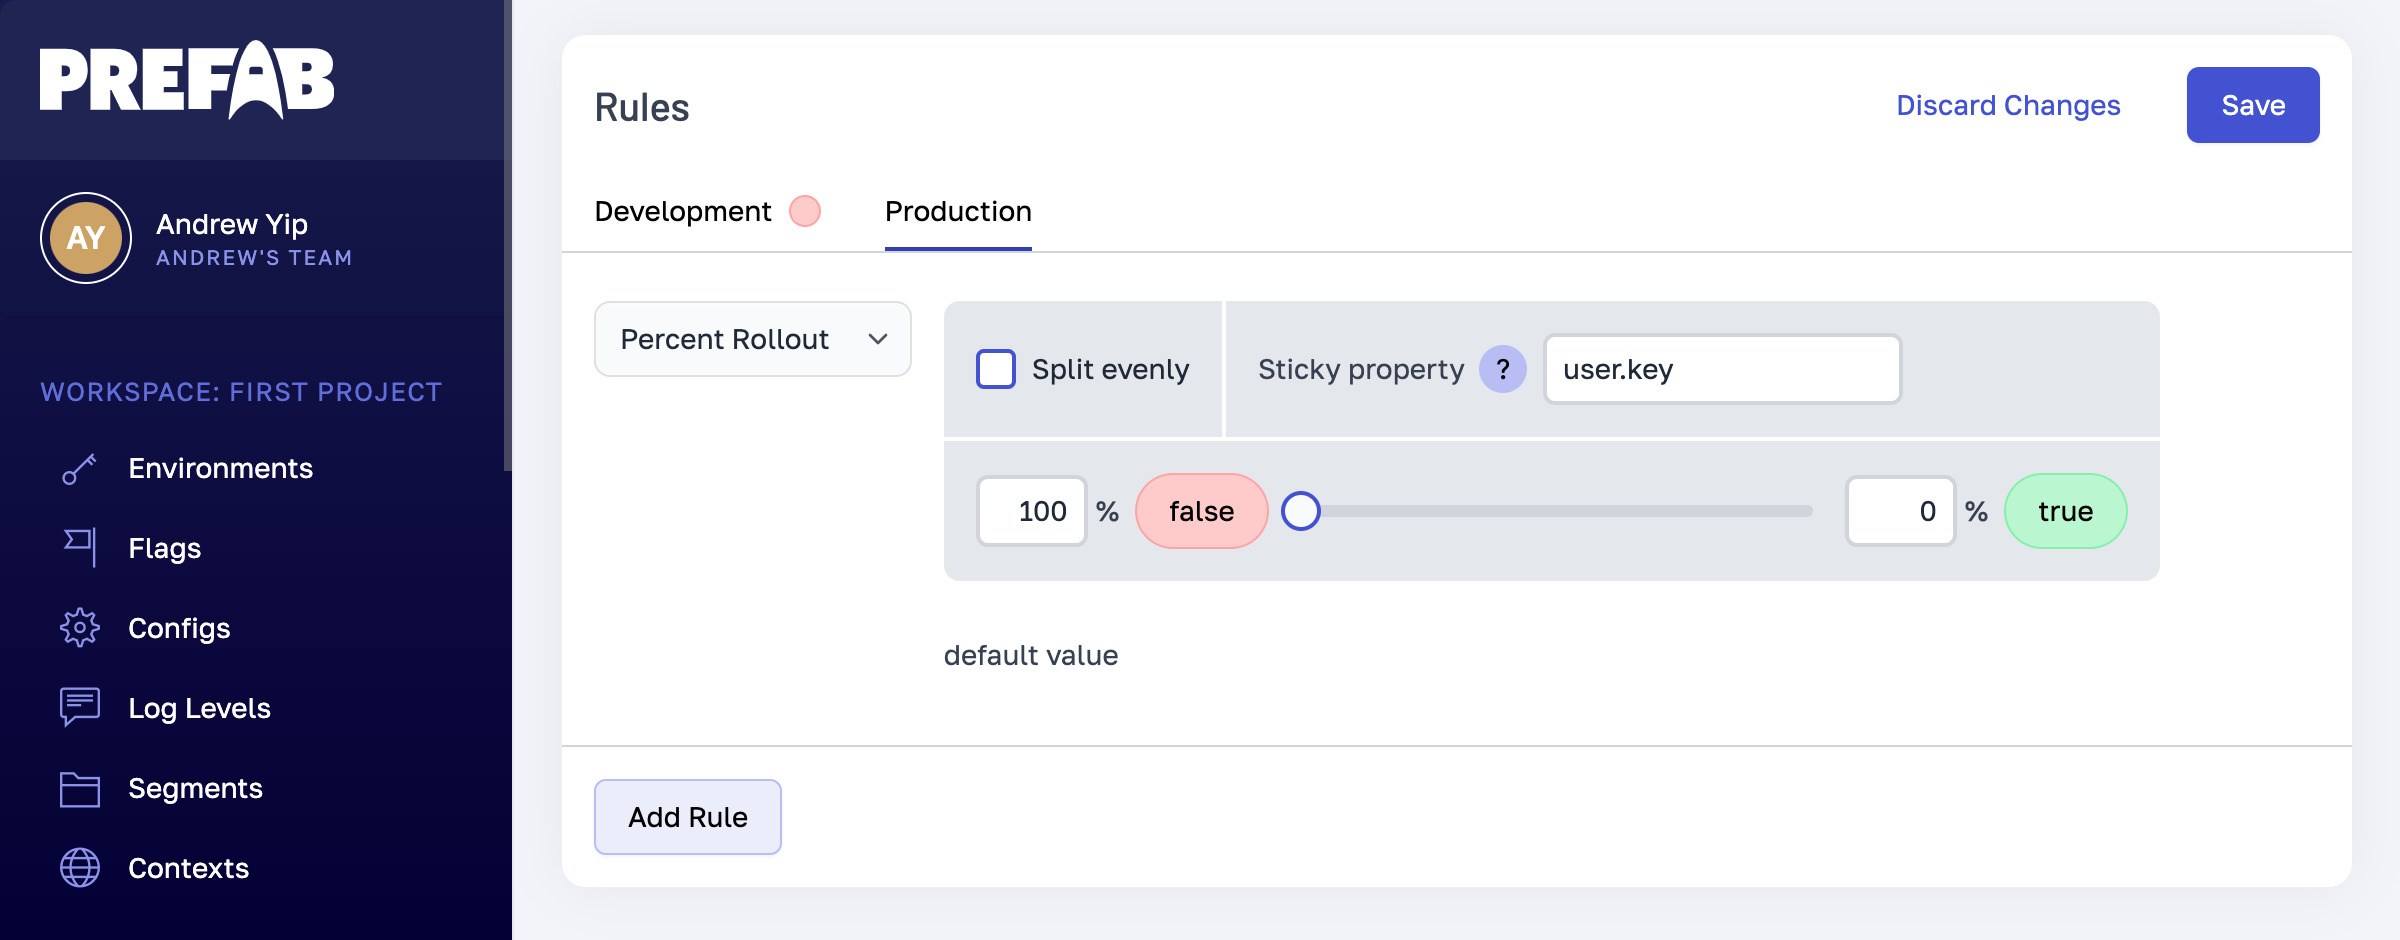
Here you can set the percentage of users that should receive each variant. You also need to choose a sticky property, which is a context property that will be used to consistently assign a given user to a variant. In this case we can enter user.email since that will be unique and we're already providing it as context. However, if you have a user tracking ID that is often the best choice.
Testing
What about unit testing? Prefab supplies a PrefabTestProvider component that you can use to force specific variants when setting up tests. You can learn more about testing in our docs.
